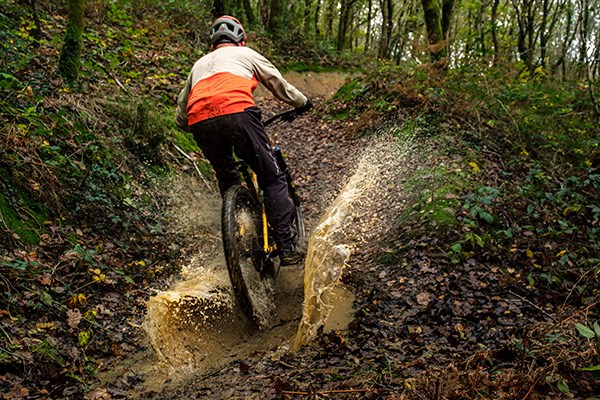
How To Replace Your Brake Pads
Brakes pads are a wear component and will need replacing from time to time, how often depends on how much you ride. We're going to show you how to remove and replace the brake pads on a set of SRAM brakes, however changing pads on Shimano and other brands is very similar.
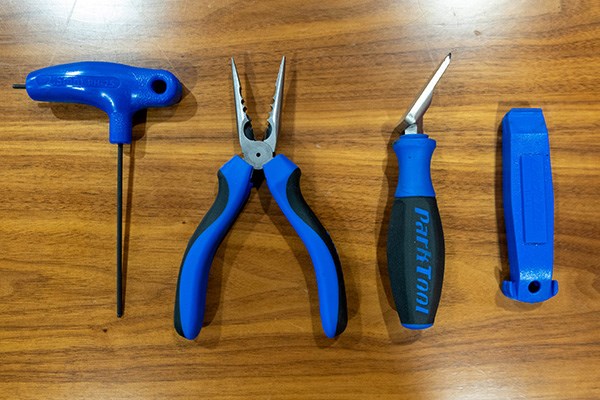
Tools you will need:
You will need a 2.5mm Allen key or needle nose pliers depending on what brakes you have. You will need a disc brake spreader or plastic tyre leavers to reset the pistons. It's useful to have disc brakes cleaner, as you never know what may happen.
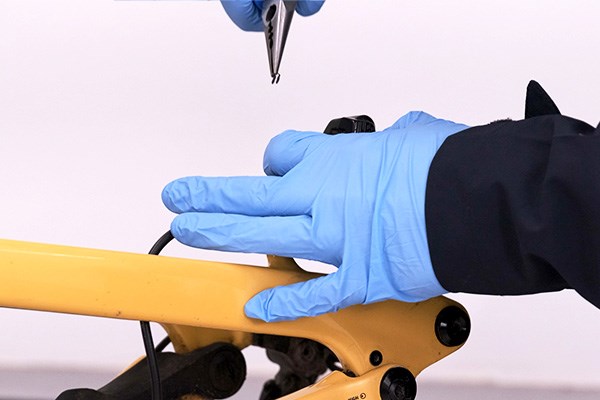
1Remove pin:
The first thing to do is to remove the retention pin, depending on what brakes you have this can be a split pin or a bolt. For our SRAM brakes, we first need to remove the c-clip using the needle nose pliers. Then, using a 2.5mm Allen key we need to unscrew the bolt that holds the pads in place.
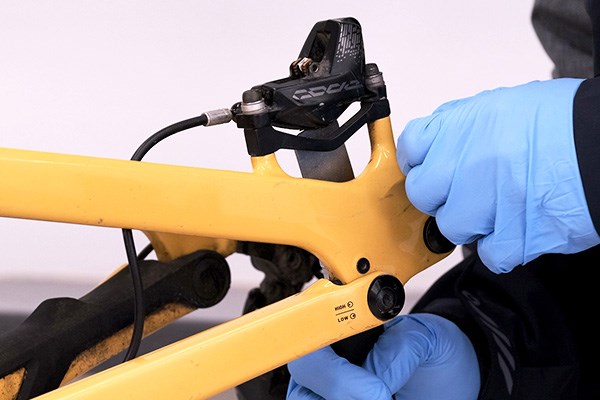
2Reset pistons:
If the pistons do not look like they have fully reset, now is the best time to push them back while the old pads are in place. Using either the disc brake pad spreader or plastic tyre leavers, push them between the pads and wiggle back and forth, the pistons should move. If they do not move fully apply some pressure and the pistons will go back into the housing.
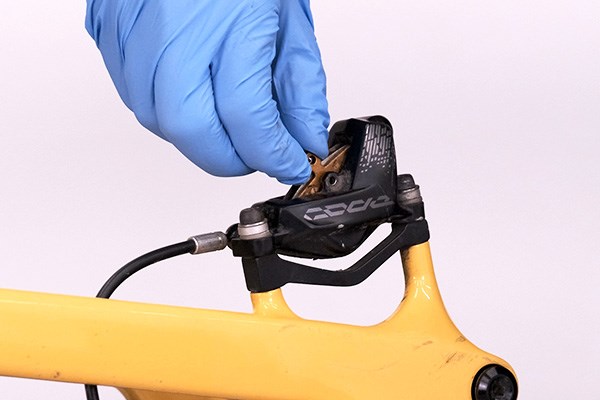
3Remove pads:
Next, remove the old pads. For SRAM brakes the brake pads are removed from the top. Grip the metal tabs at the top of the pads, squeeze them together, and pull up.
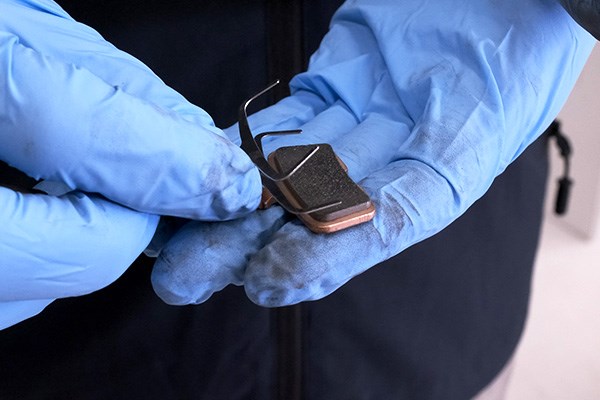
4 New pads:
Now it's time to fit the new pads, most brake pads come in three parts, a left and right brake pad, and a pad spring. The pad spring gets sandwiched between the pads.
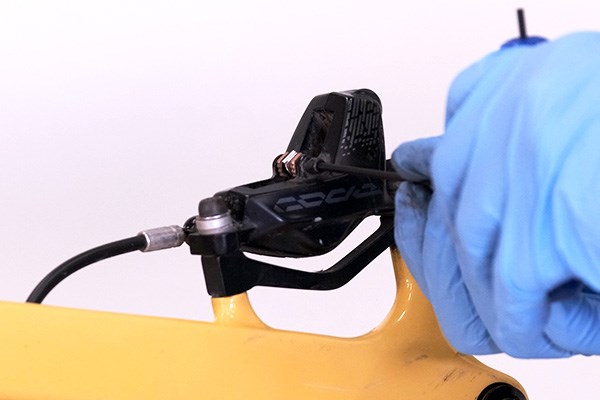
5Fit new pads:
Now it's time to fit the new pads, this is the same as removing them, but in reverse. Squeeze the pads together and push them into the caliper from the top. Then you need to make sure that the retaining pin is fitted using the 2.5mm Allen key. Next is the C-clip, this reduces the chance that the pin will rattle loose.
6 Get out and ride:
You just need to bed in the brakes, to do this get up to speed on the bike and brake heavily without stopping a few times. You'll notice you have more stopping power after doing this. Now it's time to get out on your bike and enjoy!