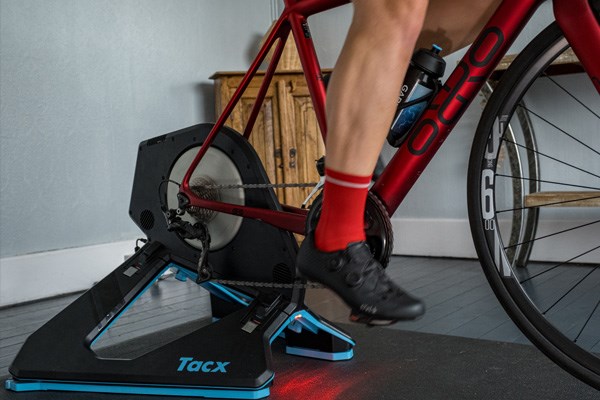
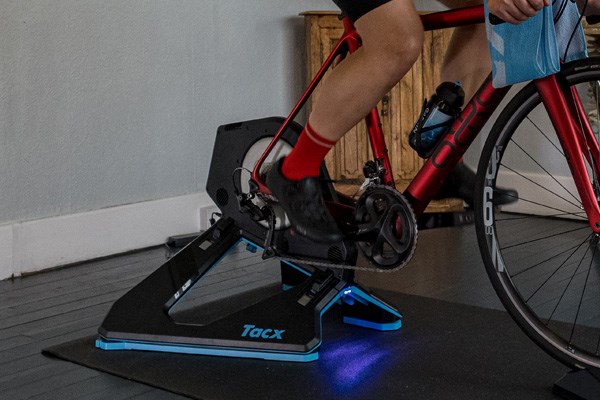
Setting up your direct drive turbo trainer is a straightforward process once you know what to do, but it is important to do it correctly so you don’t harm your equipment. This step-by-step guide will show you how to set up your direct drive turbo trainer so you can get on and ride efficiently.
Things To Consider Before Setting Up Your Trainer
Before you get started, there are a few things to consider. All direct drive turbo trainers are Smart trainers, so it will need to be plugged in. To get the most out of your trainer you will need a Bluetooth or ANT+ device such as your phone, tablet or bike computer. To use a laptop you will need an ANT+ dongle.
Before putting your bike on the trainer make sure your freehub is compatible. Most trainers are fitted with a HG freehub body which is compatible with all 8,9,10,11 speed bikes but only some 12 speed bikes. If you have a high end 12-Speed Shimano drivetrain you will need a Microspline freehub body and if 12-Speed SRAM you will need an XD body.
It is important to note that cassettes are not included with trainers, if you purchase an additional one, this will save having to remove your bikes cassette every time you use the turbo.
What You'll Need
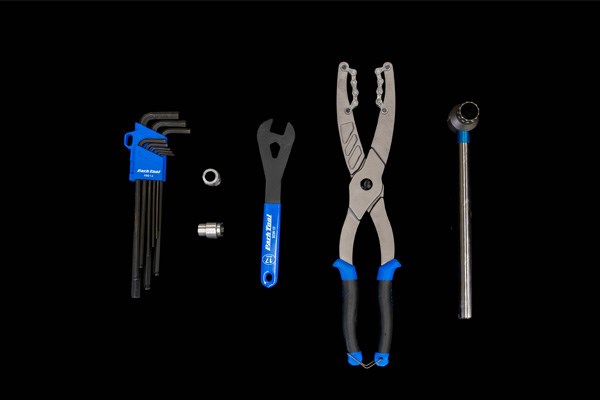
- 5/6mm Allen Key
- Thru Axle Adapters
- Front Wheel Block
- Floor Mat (optional)
- 17mm Spanner (optional)
- Compatible Free Hub Body
- Cassette Lock Ring Tool
- Chain Whip
- Cassette (either your bikes cassette or an additional one)
1
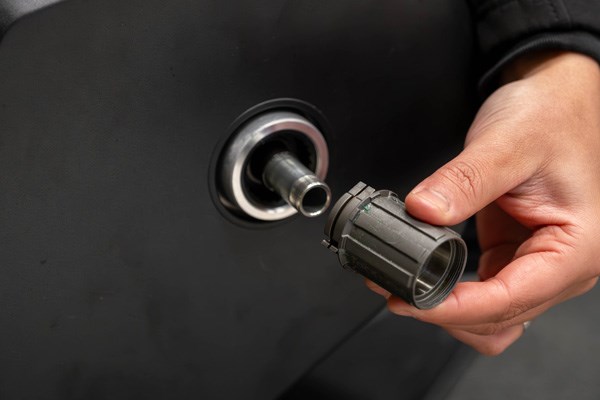
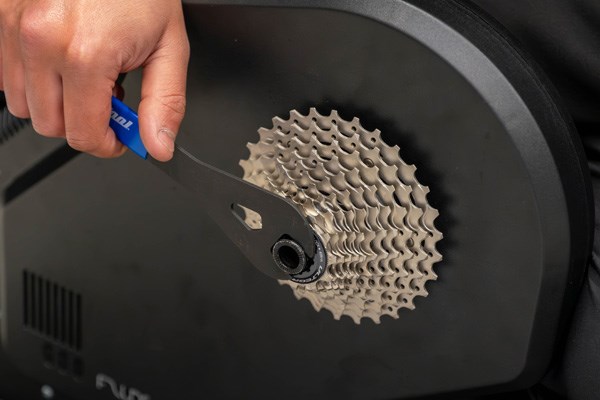
First prep the trainer. If you need to change the freehub body, you will need to fit this first before fitting your cassette. Using a spanner, remove the lock nut on the turbo to be able to pull the freehub body off. Once you have removed the original freehub body, you can then fit which ever body you need.
2
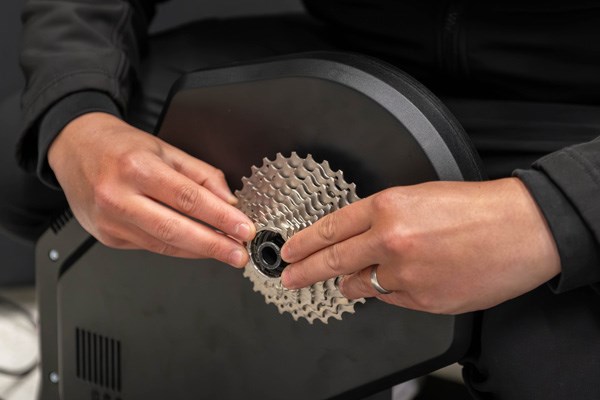
Now fit the cassette onto the turbo. If you have a 8,9,10, speed cassette you will need to use the spacer provided with the trainer. If 11 or 12 speed you don’t need the spacer.
 Note: A good tip fitting any cassette is to turn the freehub body so that the small notch is at the top. You can then match this up with the small notch on the cassette and slide the cassette straight on.
3
Most trainers have standard quick release end caps fitted. If your bike is thru axle, using an allen key or spanner remove these end caps and replace with the correct ones.
 Note: Depending on your bikes axle size this with either be 12x142 or 12x148. To find out more about which axle size you need you can either use the markings on the axle of your bike, our Thru Axle Guide or speak to one of our online bike experts.
4
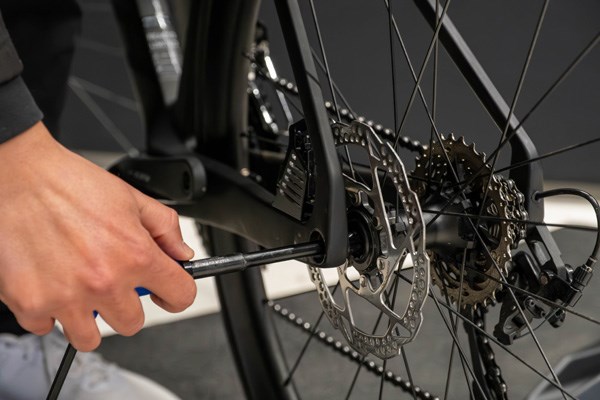
Now the trainer is ready, its time to prep your bike. Remove your bikes rear wheel and hold onto your axle.
5
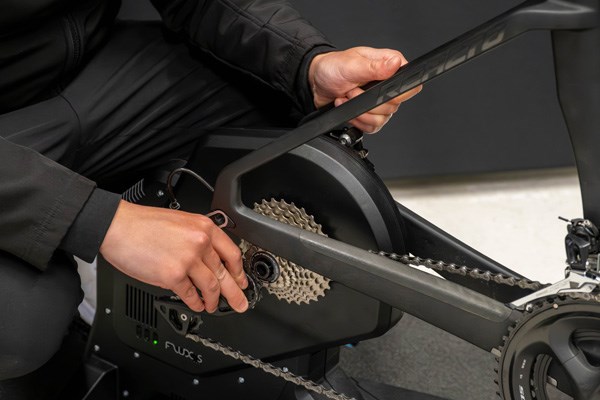
Now mount your bike onto the trainer and fit your axle or qr skewer.
 Note: To make it easier, pull the rear derailleur backwards to release the chain tension and the bike will slot into place.
6
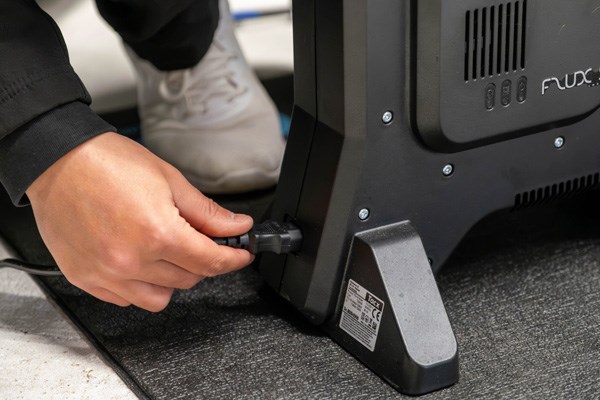
Once your bike is on and your trainer is in position, make sure the trainer is plugged in and ready to go.
7
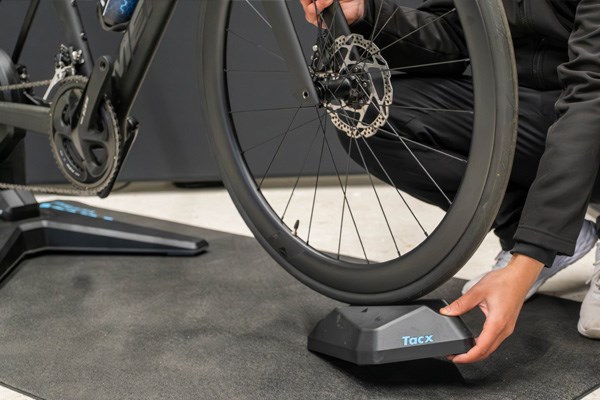
Now you can place the front wheel block under the front wheel to ensure you are at a level riding position.
8
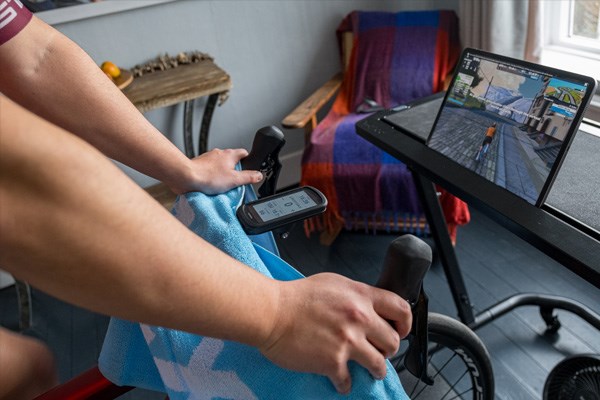
Finally, connect your trainer to your preferred training software such as Tacx, Wahoo X, Zwift, as well as your third party devices such as your bike computer.
9
You are now all set up, it is time to ride.
