How to know when to change
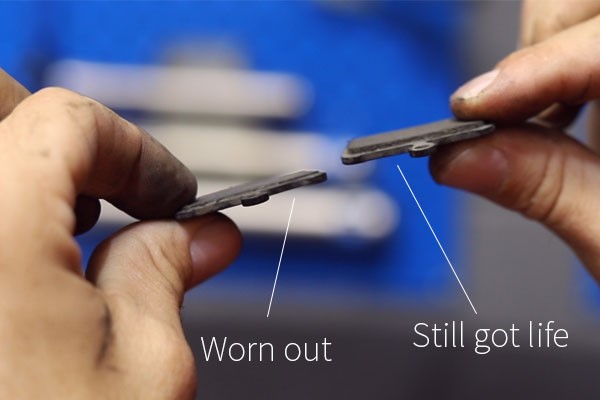
A sign of when to check your pads is when they start to reduce in braking ability. Disc brake pads generally have two parts: the metal backing and the pad material. If the pad material looks very thin, it’s time to change them. Pads that need replacing they will look like the pad material is worn significantly away with 1mm or less material before the metal.
What do you need?
- New brake pads
- Multi-tool or set of Allen keys
- Tyre levers
- Pliers
1Identify your brakes
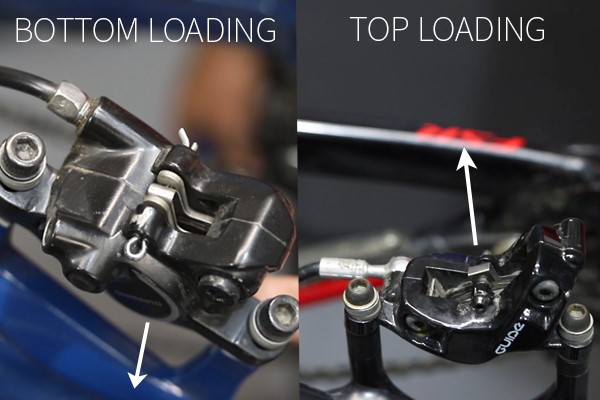
Some brakes are top loading and some are bottom loading. This refers to how you can fit and remove the pads into the callipers. Top loading brakes are much easier to service as you can more easily take the pads out. Bottom loading callipers require a little more effort to remove and replace the pads.
2What is everything?
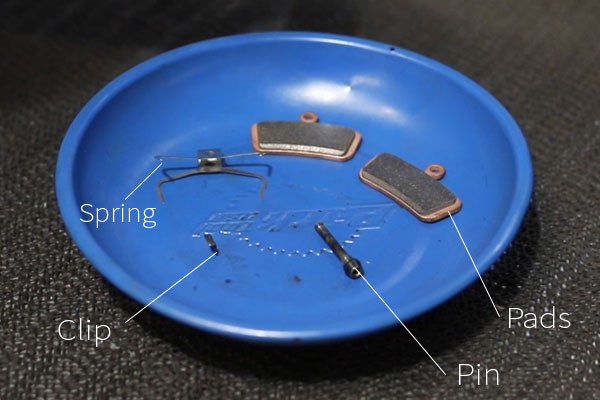
There are a couple of different parts to disc brake pads. Firstly, and most obviously, are the pads. There are two of them, one for each side, and they get pushed by the pistons within the calliper to squeeze onto the rotors to slow the bike. To retract the pads back in place, a small metal spring fits between the pads. Holding the pads and spring in the calliper is a split-pin or threaded bolt.
3aRemoving pads (top loading)
*Important: Do not squeeze the brake lever while there is no disc between the pads.
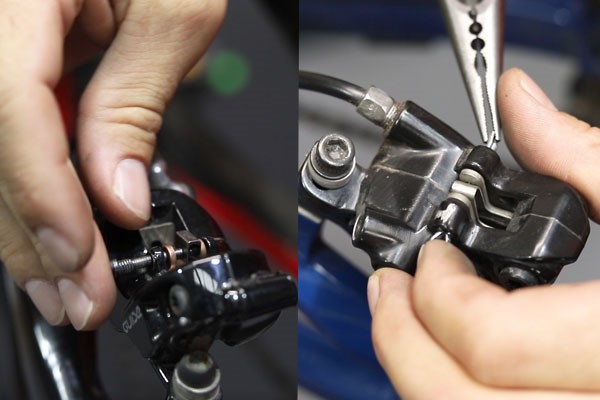
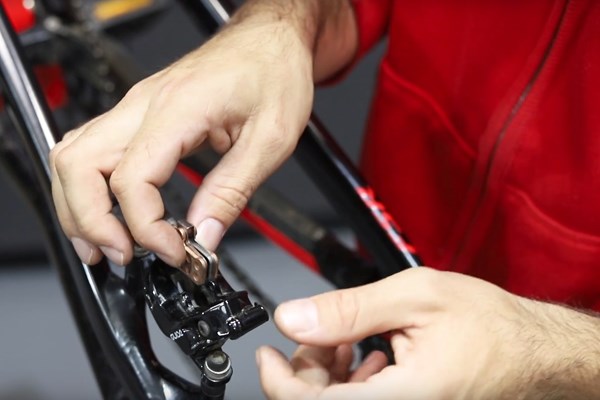
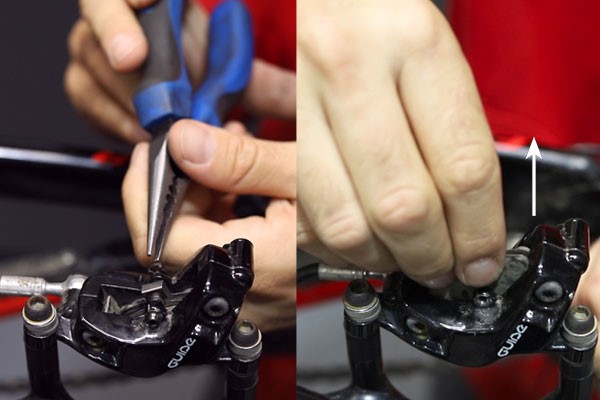
If your brakes have a bolt holding the pads in, there might also be a pin that’s pinched into a groove at the end of the bolt. Use a pair of pliers to remove this, then use the correct size Allen key to unscrew the bolt. Pull the bolt out and then the pads. Top loading calliper pads can be easily removed by hand once the pin is removed.
3bRemoving pads (bottom loading)
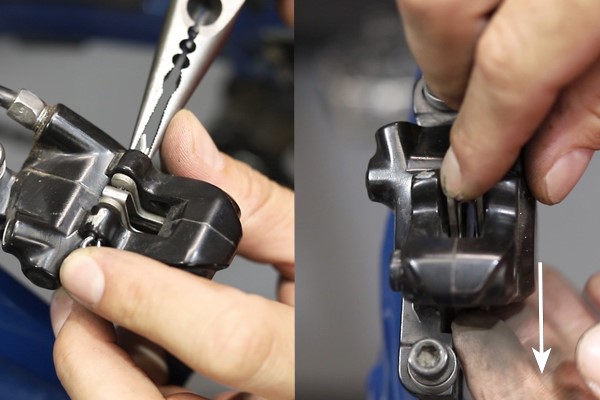
Some brakes will have a split pin that holds the pads in the calliper. To remove this, use some pliers and bend the pin so the two ends meet and are flat. You can then pull the pin out from the pads and calliper. Be sure to remember how the pads came out, as some are asymmetrical and will only go in a certain way. Bottom loading calliper pads may need pliers to assist in removing them, but should come out easily.
4Checking pistons
The pistons in your brake calliper will most likely be extended if your pads are very worn. This is due to the brake self-adjusting to the wearing brake pads. To retract them, use a plastic tyre lever to push the pistons back. Do not use metal as this can damage the pistons. This might be a good time to use some generic brake cleaner if your brake calliper is dirty.
5Install new pads
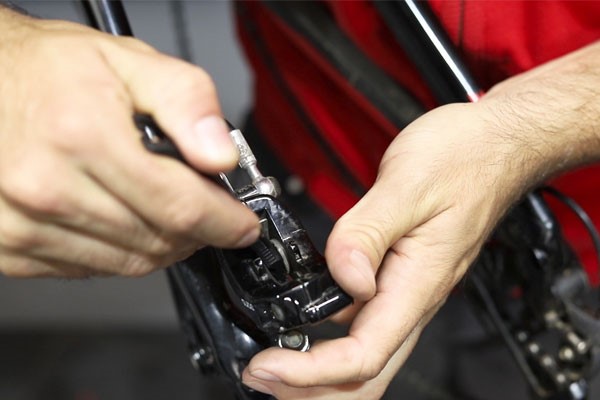
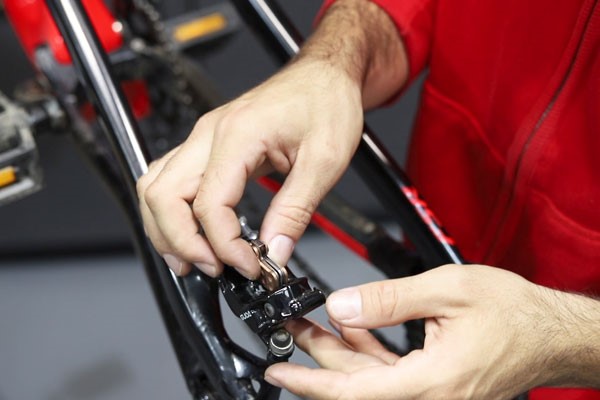
Just as you removed the old pads, you can install the new ones. As stated above, some pads are asymmetrical, so you should remember how they came out so that you can replace them in the same orientation. Make sure the pads are sitting snuggly on the outside of the spring, and as a single unit, place the pads between the pistons.
6Fitting the new pin or bolt
Line up the pads to that the split pin or bolt can slide easily through the calliper, pads and spring. If you have a split pin, use some pliers to bend the longer piece away from the other in a sharp angle so that it can’t be pulled out. If you have a bolt, slide it through and tighten it. If it has a pin that pinched at the end, slide it onto the groove until it clips firmly onto the bolt.
