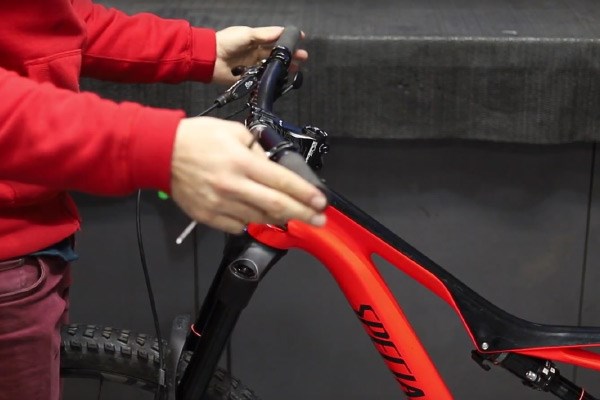
You may want to change your stem if you want to change the length of it to adjust your handling or just get a nice new piece of kit.
1
Loosen the faceplate bolts
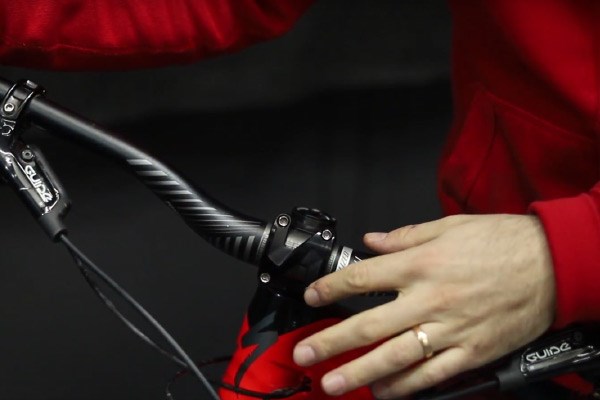
The first thing to do it loosen the bolts on the stem faceplate, (or the piece holding the handlebars). Start by loosening a top bolt a little, then move to the one diagonally down and loosen the next a little, move up and loosen the other top bolt and finally the bottom bolt. This is done so that the pressure on the handlebars is always evenly distributed.

2
Remove the faceplate
Loosen all the bolts completely and remove them all save for the last one. Hold the faceplate onto the handlebars and remove the last bolt. Keep hold of the handlebars and remove the faceplate. Now hang the handlebars down, being careful not to have the handlebars knock or rub against the forks.
3
Remove the top cap and bolt
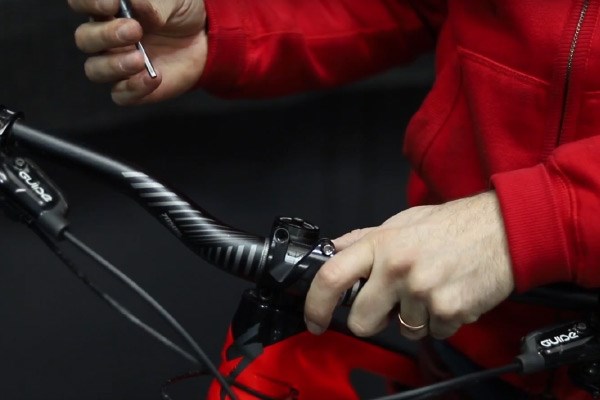
Unscrew the top cap bolt and remove it entirely. Remove the top cap too. Take off any stem spacers you may have above the stem.
4
Remove the stem
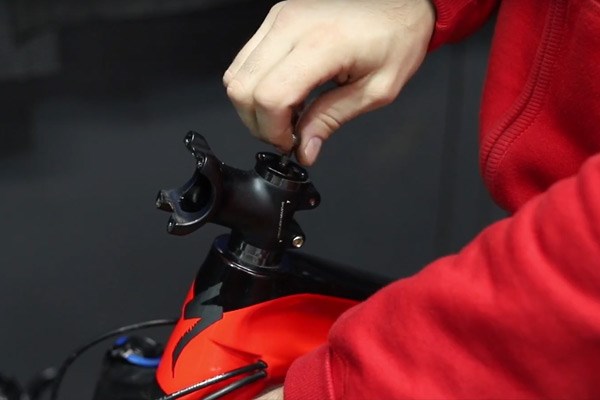
Loosen each of the stem bolts enough so the stem is loose on the steerer tube. You do not need to remove the bolts from the stem. You can now take the stem off the bike.
5
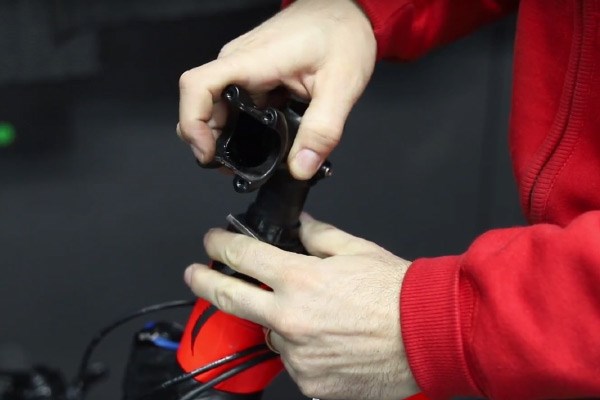
Remove faceplate of new stem
Loosen and remove the bolts of the faceplate on your new stem. Remove the faceplate and set it aside for later. We do this now, so that you can easily fit your handlebars just after you install the stem onto your bike.
6
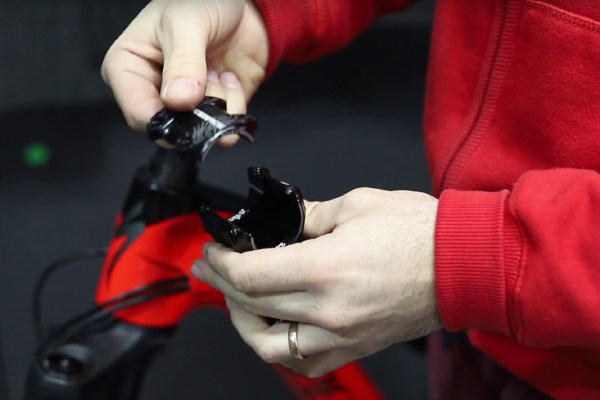
Fit the new stem onto the bike
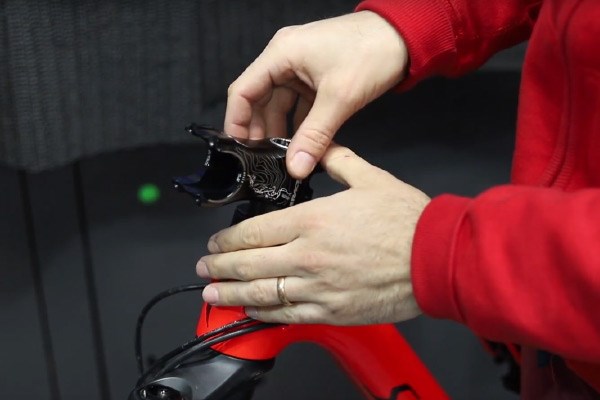
Loosen the two stem bolts so that you do not need to force the stem onto the steerer tube. You do not need to remove these bolts. Slide the new stem onto the steerer tube and refit any spacers you had on top.
7
Replace top cap
Replace the tope cap onto the stem (or spacer) and screw the bolt back in. You will only need to tighten the top cap bolt to a single-finger tightness, as thing is only used to compress the assembly and not hold it all together.
*It is important to have a gap between 2-4mm from the top of the steerer tube to the top of the stem or spacer. This will allow the top cap to compress the stem, forks and bearings together to ensure the entire assembly is tight and safe.
8
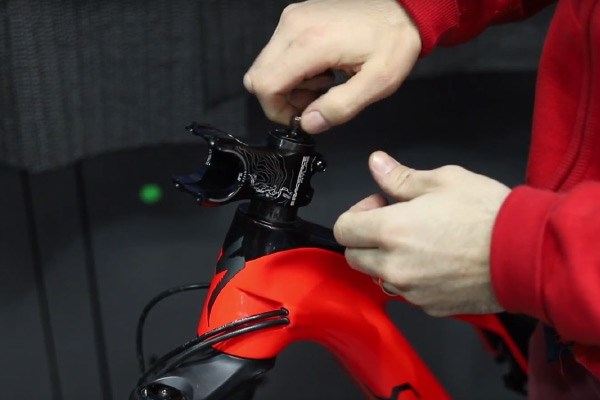
Fitting handlebars
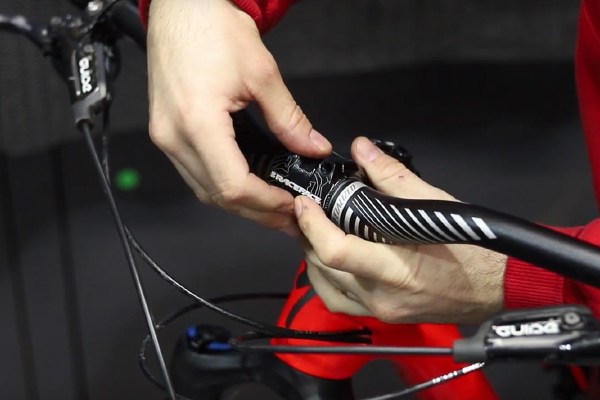
Place the handlebars back into the stem. Put the faceplate back on hold it in place. By hand, screw the bolts into the stem, securing the faceplate and handlebars.
9
Lining up the handlebars
Line up the handlebars using the markers on the handlebars. Make sure the handlebars are centred in the stem. Also make sure to get the fore and aft angles the way you like them. Once you have it all lined up, hold the faceplate in place so the handlebar doesn’t move.
10
Tighten the faceplate
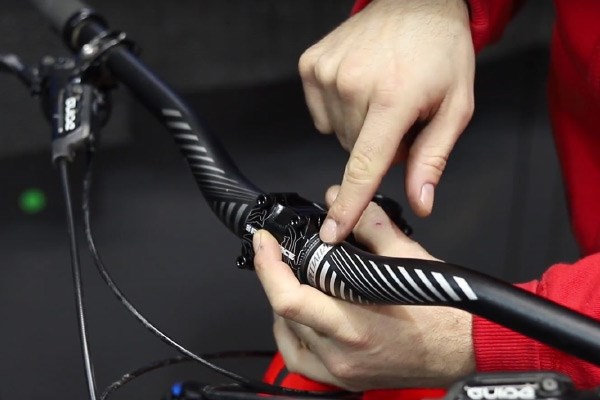
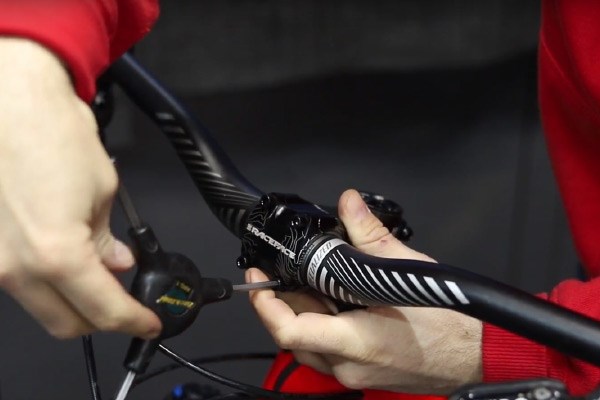
Tighten each bolt so that the handlebar is secure in the stem, but do not yet tighten the bolts completely. Now, starting at the top, tighten one of the bolts till its firm and move on the opposite bolt at the bottom. Next tighten the second top bolt and then the last bottom bolt. This is so that the faceplate is securing the handlebar evenly.

11
Lining up and securing the stem
Stand in front of the bike with the wheels held firmly between your legs. Turn the handlebars until the stem is centred with the front wheel. Now, tighten the stem bolts one at a time, making sure they are both tightened evenly. Give the handlebars a firm twist to make sure they are secure, and push down on the handlebars to check that the handlebars are tightly in place.
