Packing some essentials, throwing your leg over a top tube and heading out for an adventure isn’t exactly a new concept, and yet whether it’s a single day ride, a weekend, a week or longer, bikepacking is growing in popularity. But what is it? Do you need a specific bike? What gear should you take? Load up and read on.
What is Bikepacking?
Purists might argue that bikepacking is just a new-fangled word for cycle touring, but there are some clear points of difference. Whilst tourers stick to the tarmac, bikepacking usually involves riding on varied surfaces and terrain to experience solitude and peacefulness on two wheels.
As touring cyclists pack the kitchen sink into their panniers, bikepackers travel light, using featherweight bags strapped to the frames of their bikes with the absolute minimum inside. However, like touring, bikepacking is less stem-munching miles and more experience seeking fun. Think slow average speeds, frequent stops for pictures and long lunch breaks as you take in your surroundings.
Bikepacking Bikes
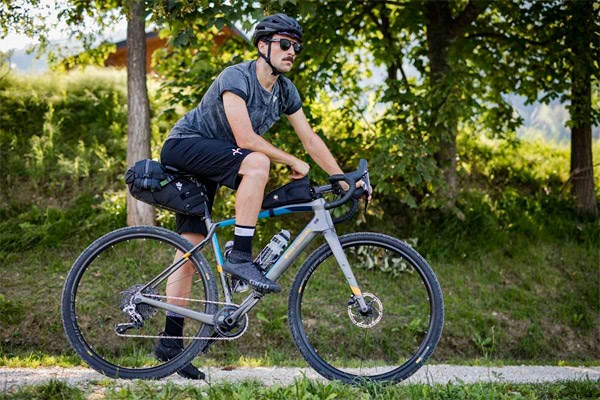
The attractive aspect of bikepacking is that it’s very likely you’ll be able to ride a bike you currently own. Avoid any potential equipment disasters by always keeping your route in mind when planning a bikepacking expedition. Could you use your road bike to bikepack the South Downs Way, probably not but could you use a hardtail 29er? Sure!
Using bags with straps and ditching panniers means you won’t have to worry about rack mounts on your frame. Consider slight adjustments to your bike by weighing up your proposed route and how you think your bike will perform in its current state.
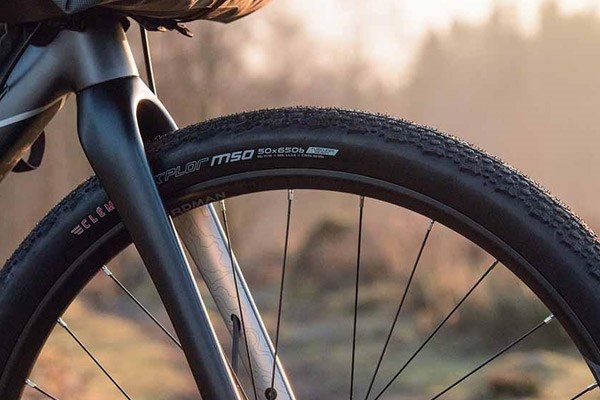
Swap out your tyres, double wrap bar tape, change to some ergonomic grips or beef up your frame protection. These are some simple fuss-free changes that you can make to make your trip more enjoyable.
If you are in the market for a new bike (who isn’t?!) there are a few bike types that make suitable bikepacking partners.
Gravel, adventure or all-road models have more comfort-orientated frame geometries.
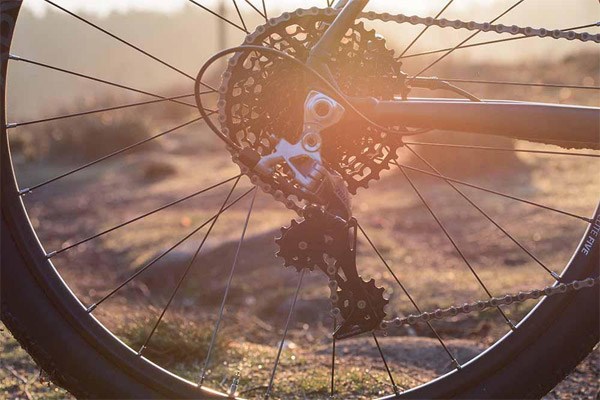
Their long, slack frame design aids stability when riding and a taller head tube means a comfortable all-day riding position. These bikes typically have a generous amount of tyre clearance for when the going gets tough, wide gear ratios to deal with the ups and downs and disc brakes for fingertip control when you need it.
Bikepacking Bags
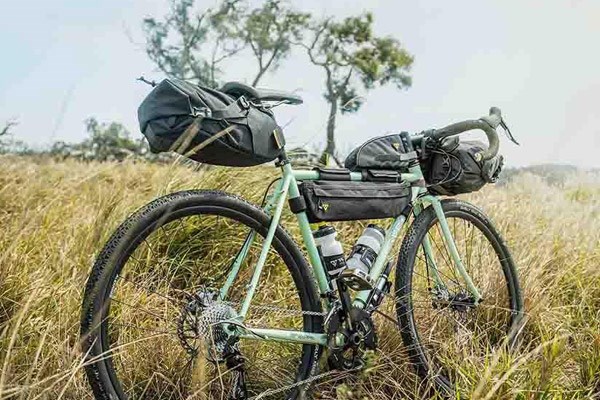
Seatpack
Essentially a large saddlebag, seatpacks sometimes referred to as tailpacks strap to the saddle rails or seatpost. Ranging from around 5 to 20 litres in capacity, we’d recommend popping items with significant weight in here. Take into account the pendulum effect of riding, so don’t ram anything and everything in here.
Some seatpacks are a complete bag whilst some come in the form of a dry bag and holster enabling you to whip the bag on and off much easier. Look out for reflective detailing and light mounts, which could help when the shadows are lengthening and you’re still riding.
Frame bag
The classic two triangle design of a bicycle frame means a bag can be placed easily underneath the top tube.
Sitting nearer to the ground, with a lower centre of gravity than a seatpack or ‘bar bag, you can store smaller, weighty items in a frame bag without impacting the handling of your bike too much.
Ranging from 3 to 10 litres in size, take note of the dimensions of your chosen bag as you’ll want to make sure it’s a snug fit on the frame of your bike and not flapping about whilst you’re riding.
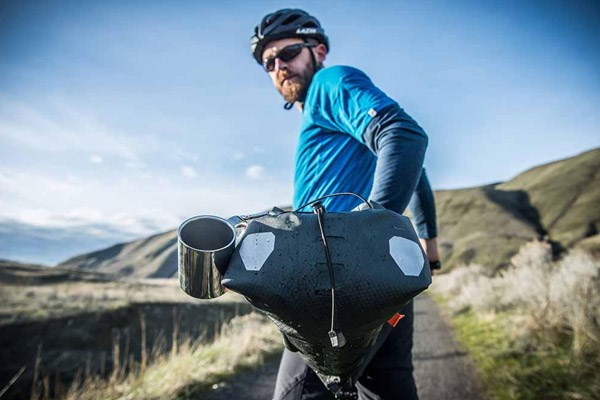
Handlebar bag
Riding up front, strapped to your bars, handlebar bags are ideal for storing lighter items with more bulk. Sleeping bags, roll mats and jackets should be stored in here. Some have extra pockets which can be handy for storing items that you want to access easily whilst riding. Handlebar bags range in capacity from 3 to 20 litres.
Depending on the nature of your bikepacking trip you might use all three bags or just one, plus there’s a whole host of other bag types for all carrying eventualities.
Bikepacking Essentials
For a real bikepacking experience, you can’t beat a night under canvas. Riding into the evening, propping up your bike and setting up camp is a special feeling. Struggle to get your tent onboard? If the weather is set fair, ditch the inner flysheet. Because you’ll be riding the next day you’ll need a decent night’s sleep. A lightweight, inflatable sleeping mat is a worthwhile investment.
Another necessity for a bikepacking trip is a good jacket. Ideally, something that keeps you warm and the rain off, you’ll be thankful you brought it as you scramble out of your tent and into the cold morning air.
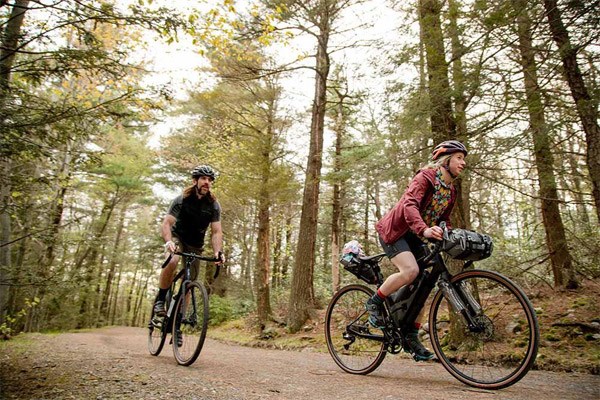
Our Bikepacking Top Tips
1. Test your setup – Avoid a disastrous trip by loading up your bike ahead of time and take it for a test ride around the block. A couple of miles should give you an indication if you can control your bike with the extra weight, are carrying too much or even if you can reach for your water bottles. Shift up and down your gears and try your brakes to ensure that the bags haven’t stopped them functioning correctly.
2. Plan a route – As you’ll be riding somewhere different it’s a sensible idea to know your route or failing that a few rough waypoints along the way. Don’t rely on internet connection on your phone, maybe take a small map or go the whole hog and use a GPS computer that includes a mapping feature.
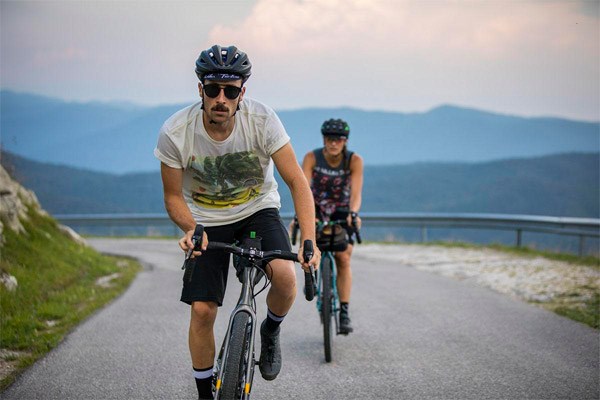
3. Take your time – Spending your time pedal stamping around local lanes or trails isn’t the best mental preparation for a bikepacking trip. You’re there to enjoy the ride, so sit up, shift down a gear and take it all in.
